Quickstart
A quick dive into getting started with Lore
A quick dive into getting started with Lore
In this step we'll update our application so that we no longer see a duplicate tweet when creating a new tweet.
You can view the finished code for this step by checking out the
websockets.2branch of the completed project.
If you open two browser tabs, and create a tweet, you'll notice that the browser that creates the tweet ends up with a duplicate tweet in the Feed, where one tweet is real, and the other has the faded effect we created as an optimistic visual cue:
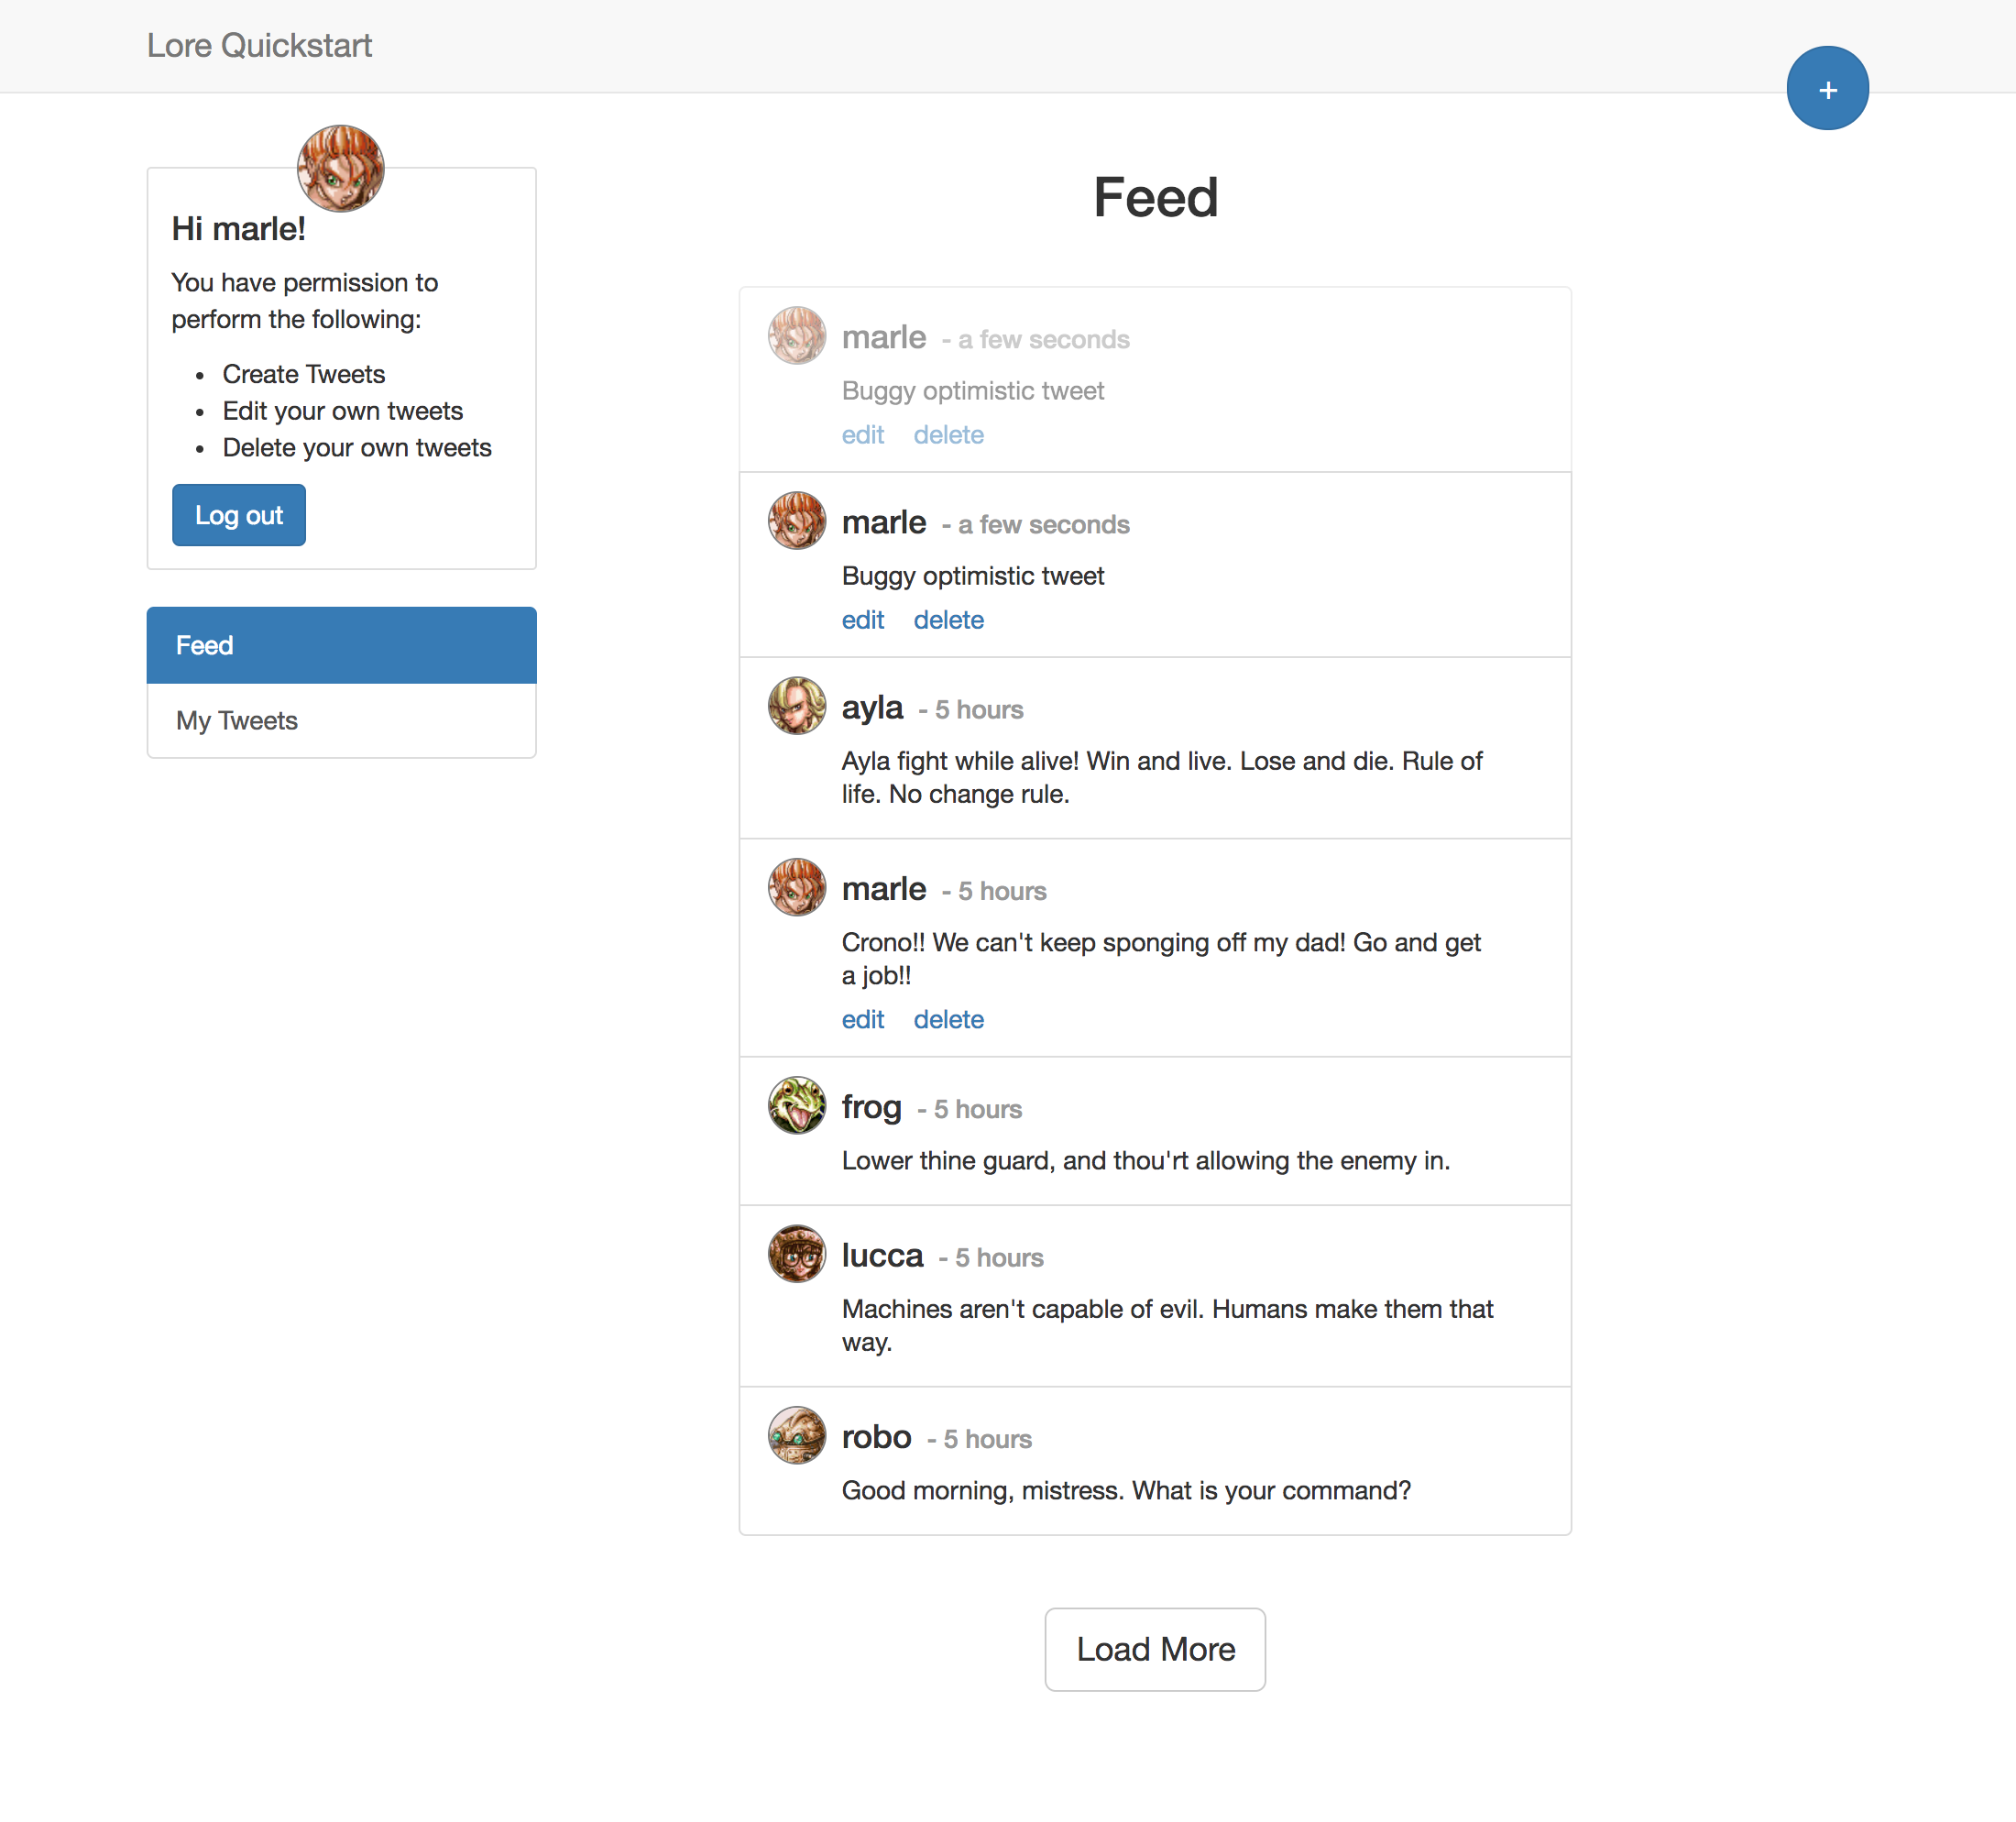
The short answer is that using optimistic updates alongside websockets is very tricky. The reason optimistic updates worked correctly before we integrated websockets was because we were able to associate the optimistic data that we injected into the application early, with the real data that came back from the REST API, and we did this using the cid on the model (e.g. c1, c2, etc.)
But since this cid doesn't exist on the data that arrives via websockets, then if the websocket response returns before the API response from the REST API, we end up with two tweets in the store. One has a cid but no id (the optimistic tweet) and the other has an id but no cid (the websocket tweet).
Because of that, we can't associate those two tweets as the same thing, and we end up with an optimistic tweet in the store that will never be resolved.
In order to solve this, we need to send a unique cid to the server, that it will include in the data sent via websockets. This will allow us to associate the optimistic tweet (that has no id) with the data coming in through websockets, as long as that data includes the cid we sent.
Some applications will actually allow the client to generate the
idof the resource themselves, using aUUID, which allows it to be broadcasted to other listeners before being persisted to a database.
The first step is to include the cid in the data we sent to the API. To do that, open config/actions.js, and find the attribute named addCidToBody. Change that value to true, like this:
// config/actions.js
export default {
  addCidToBody: true
}
With that change in place, if you create a tweet, you'll notice the cid is included in the attributes sent to the APi.
The second problem we need to solve is making that cid unique, and unfortunately, the cid values generated by default are only unique for a single browser, and only as long as you don't refresh the browser (the first cid is always c1, the second is always c2, etc.)
To generate a unique cid, we're going to use a package called node-uuid to generate a UUID (universally unique identifier). A UUID is a value generated by an algorithm that is essentially guaranteed to never be repeated.
Install node-uuid using the command below:
npm install node-uuid --save
With node-uuid installed, we can now change the algorithm that generates the cid to make it a UUID instead of something like c1.
To do that, open config/connections.js. Import node-uuid, and update the generateCid() function to look like this:
// config/connections.js
import uuid from 'node-uuid';
...
export default {

  default: {
    ...
    models: {
      properties: {
        generateCid: function() {
          return uuid.v4();
        }
      }
    },
    ...
  }

};
That's it! With that change in place, not only will the cid for your models be sent to the server, but the cid values will now look like c69b66e8-14e1-4257-a43b-f8acbe6f2635 instead of c1, and will be unique for every resource, regardless of where or when it was generated.
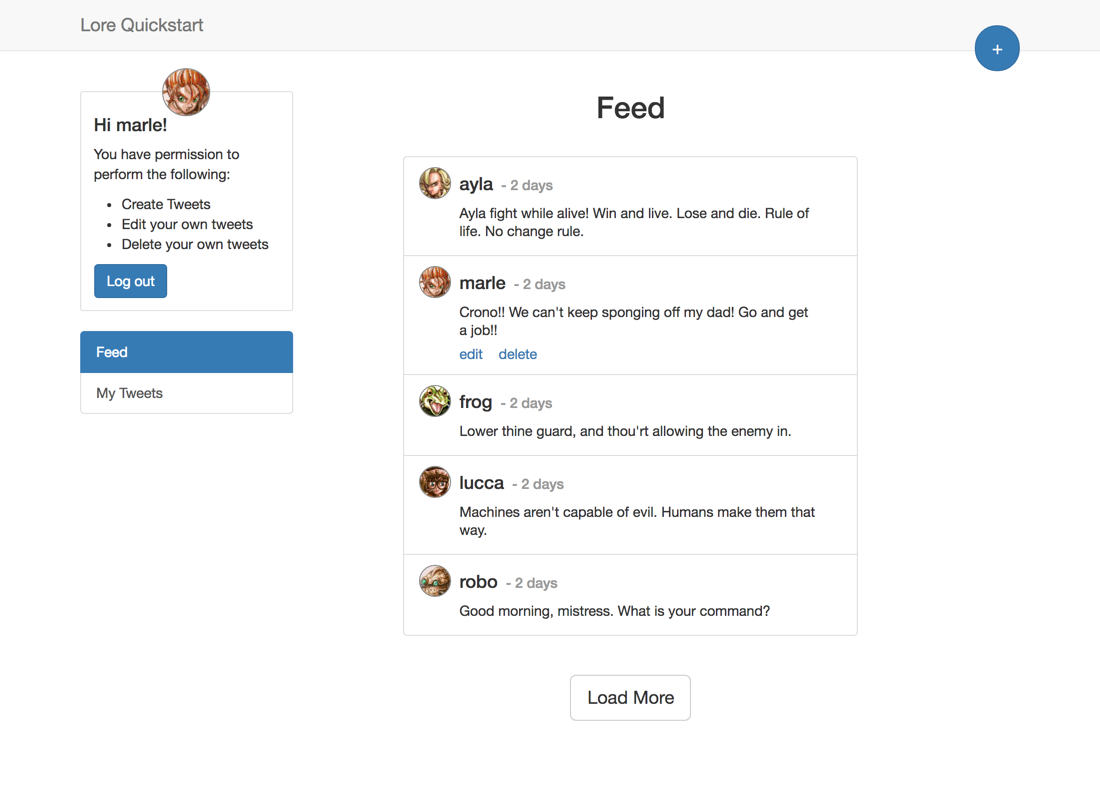
If everything went well, your application should now look like this (the same as before) but you will no longer see duplicate tweets when creating data.
Below is a list of files modified during this step.
export default {
  addCidToBody: true
}
import uuid from 'node-uuid';
import auth from '../src/utils/auth';

export default {

  default: {

    apiRoot: 'http://localhost:1337',

    headers: function() {
      return {
        Authorization: `Bearer ${auth.getToken()}`
      };
    },

    models: {
      properties: {
        generateCid: function() {
          return uuid.v4();
        }
      }
    },

    collections: {
      properties: {
        parse: function(response) {
          this.meta = {
            totalCount: response.meta.paginate.totalCount,
            perPage: response.meta.paginate.perPage,
            nextPage: response.meta.paginate.nextPage
          };
          return response.data;
        }
      }
    }

  }

};
In the next section we'll learn how to build and deploy the application for production.