Quickstart
A quick dive into getting started with Lore
A quick dive into getting started with Lore
In this step we're going to configure Auth0, which we'll be using as the authentication service for this Quickstart.
You can view the finished code for this step by checking out the
authentication.2branch of the completed project.
Run this command to install auth0-js, a library we'll be using to manage the authentication flow for our application.
npm install auth0-js --save
Once we integrate Auth0, the user will be redirected to an Auth0 server to login, and then redirected back to our application once they do. In order to accomplish this, our application is going to need to know a few things first:
We're going to add these values to the application configuration, but instead of adding them to an existing config file, we're going to create a new one just for Auth0.
Create a new file in /config called auth0.js and paste in this content:
// config/auth0.js
export default {
  domain: 'lorejs.auth0.com',
  clientID: 'XFcYHKv1NXCVrbtSaf0JZPRLtYj5UZ7E',
  redirectUri: 'http://localhost:3000/auth/callback',
  audience: 'https://lorejs.auth0.com/userinfo',
  responseType: 'token id_token',
  scope: 'openid'
}
// config/auth0.js
export default {
  domain: 'lorejs.auth0.com',
  clientID: 'XFcYHKv1NXCVrbtSaf0JZPRLtYj5UZ7E',
  redirectUri: 'http://localhost:3000/auth/callback',
  audience: 'https://lorejs.auth0.com/userinfo',
  responseType: 'token id_token',
  scope: 'openid'
}
// config/auth0.js
export default {
  domain: 'lorejs.auth0.com',
  clientID: 'XFcYHKv1NXCVrbtSaf0JZPRLtYj5UZ7E',
  redirectUri: 'http://localhost:3000/auth/callback',
  audience: 'https://lorejs.auth0.com/userinfo',
  responseType: 'token id_token',
  scope: 'openid'
}
The /config folder in Lore is compiled into a single object, which you can access from lore.config. This means you can add your own files to the /config folder and access their values from lore.config.
Since the name of the file we just added was auth0, that means we can now access these values from the lore.config.auth0 object.
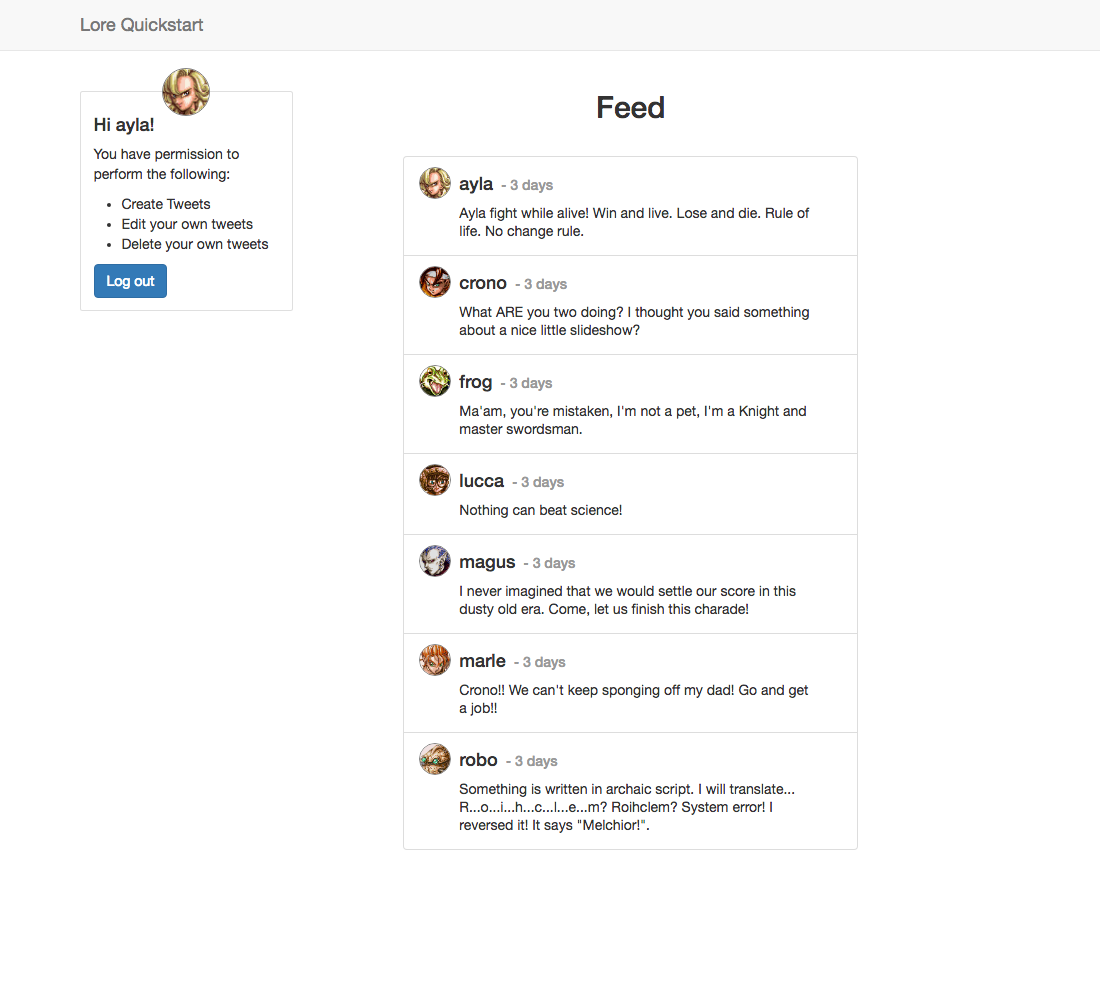
If everything went well, your application should now look like this. Exactly the same : )
Below is a list of files modified during this step.
export default {
  domain: 'lorejs.auth0.com',
  clientID: 'XFcYHKv1NXCVrbtSaf0JZPRLtYj5UZ7E',
  redirectUri: 'http://localhost:3000/auth/callback',
  audience: 'https://lorejs.auth0.com/userinfo',
  responseType: 'token id_token',
  scope: 'openid'
}
export default {
  domain: 'lorejs.auth0.com',
  clientID: 'XFcYHKv1NXCVrbtSaf0JZPRLtYj5UZ7E',
  redirectUri: 'http://localhost:3000/auth/callback',
  audience: 'https://lorejs.auth0.com/userinfo',
  responseType: 'token id_token',
  scope: 'openid'
}
export default {
  domain: 'lorejs.auth0.com',
  clientID: 'XFcYHKv1NXCVrbtSaf0JZPRLtYj5UZ7E',
  redirectUri: 'http://localhost:3000/auth/callback',
  audience: 'https://lorejs.auth0.com/userinfo',
  responseType: 'token id_token',
  scope: 'openid'
}
Next we're going to add a login experience.