Quickstart
A quick dive into getting started with Lore
A quick dive into getting started with Lore
With the dependencies installed, run the application by typing npm start.
$ npm start
A successful execution will produce output similar to this:
webpack-dev-server --hot --env.webpack=development --env.lore=development

build [==                  ] 10%
Project is running at http://localhost:3000/

webpack output is served from /
404s will fallback to /index.html

Build completed in 6.541s

Hash: 199de1b7032b223700a9
Version: webpack 3.12.0
Time: 6712ms

                 Asset   Size       Chunks                    Chunk Names
  favicons/favicon.ico   33.3 kB            [emitted]
 favicon-manifest.json   613 bytes          [emitted]
assets/images/logo.png   27.7 kB            [emitted]
        bundle.main.js   3.16 MB         0  [emitted]  [big]  main
      bundle.vendor.js   1.27 MB         1  [emitted]  [big]  vendor
            index.html   4.41 kB            [emitted]

...

webpack: Compiled successfully.
This step invokes Webpack to build the application and starts a development server so you can view it in the browser.
You can learn more about Lore's webpack config here.
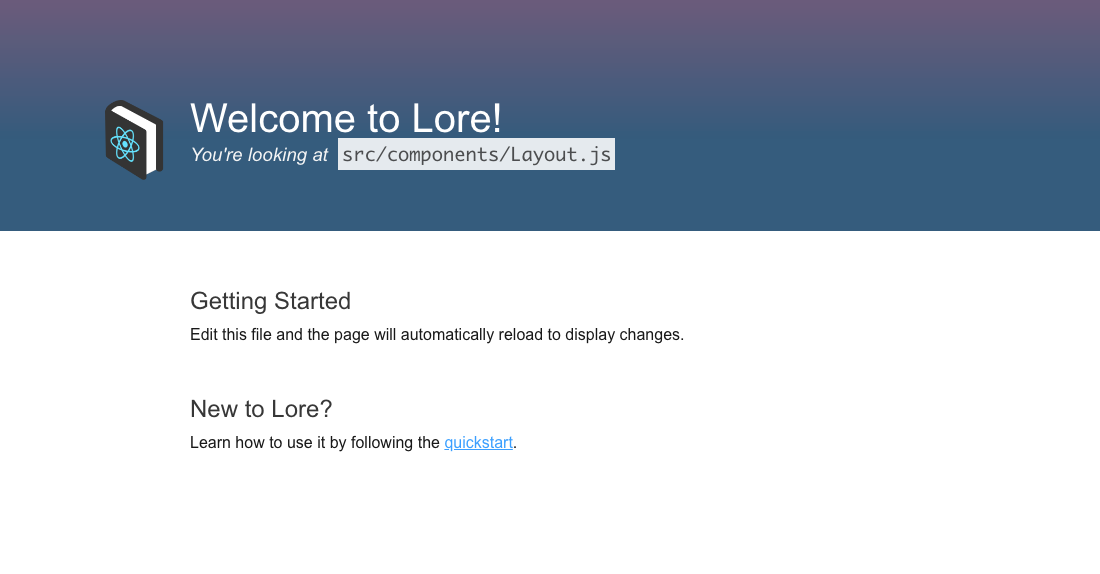
Once the application is built, you can view it by navigating to http://localhost:3000. Once you do, you should see this:
If you want to change the port the webpack dev server runs on, you can learn how to do that here.
However, if you plan on following along with this Quickstart, it is strongly recommended that you do not change the port.
Later in the Quickstart we'll be integrating with a real authentication server, and the application will need to be running on port 3000 to do so.
Next we're going to setup the mock API server we'll be using for this Quickstart.