Quickstart
A quick dive into getting started with Lore
A quick dive into getting started with Lore
In this step we're going to set the location of the API server.
You can view the finished code for this step by checking out the
fetching.1branch of the completed project.
At the root of your project is a folder called /config. This folder contains files that expose all the configuration settings for Lore, so that you can tailor the framework's behavior to meet the specific needs of your application.
Navigate into this folder and open a file called connections.js. Toward the top of the connections file you'll see a commented out line that looks like this:
// config/connections.js
...
  default: {

    // apiRoot: 'https://api.example.com',

    ...
  }
...
Commented out lines like this exist across all of the config files, and they reflect the built-in defaults that Lore uses. In this case, this comment tells us that Lore assumes the API is located at https://api.example.com.
Lore is designed to interact with multiple API endpoints. The config settings for each API is called a
connection. New projects begin configured for a single API, and this connection is nameddefault.You can learn more about the
connectionsfile here.
Since this is not where our API is located, uncomment that line and change it to http://localhost:1337, so that Lore knows where the API can be found:
// config/connections.js
...
  apiRoot: 'http://localhost:1337',
...
With this change in place, we're almost ready to fetch data.
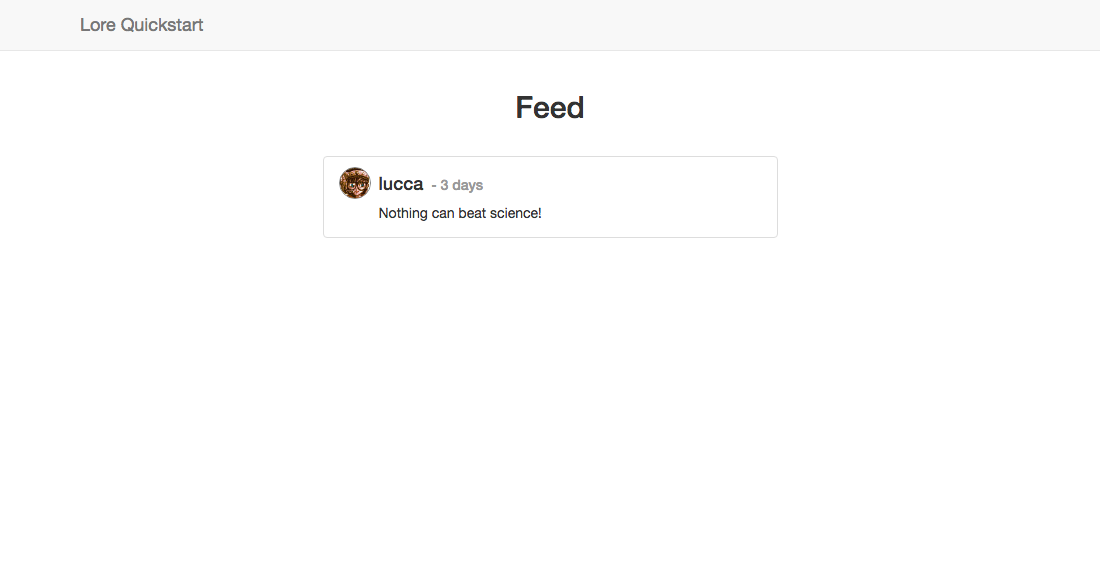
If everything went well, your application should now look like this. Exactly the same as before :)
Below is a list of files modified during this step.
export default {
  default: {
    apiRoot: 'http://localhost:1337'
  }
};
export default {
  default: {
    apiRoot: 'http://localhost:1337'
  }
}
export default {
  default: {
    apiRoot: 'http://localhost:1337'
  }
}
Next we're going to create our tweet model.