Quickstart
A quick dive into getting started with Lore
A quick dive into getting started with Lore
In this step we'll publish our production build to the web.
There is no branch for this step because it does not modify any code.
We'll be deploying our project to Now, which is a hosting service provided by zeit.co.
This particular service is being used for several reasons:
To create an account, first install the Now CLI by running this command:
npm install -g now
Once installed, run this command to login, which is also the sign up process:
now login
Now will prompt you to enter the email address you'd like to use for your account:
> Enter your email: [email]
Once you enter your email, Now will send you an email with a verification link:
> We sent an email to [email]. Please follow the steps provided
  inside it and make sure the security code matches Proud Galapagos Penguin.
⠼ Waiting for your confirmation
Find the email in your inbox, and click the link inside. Once you do, the CLI will automatically update to display the confirmation message below, and your account will now exist:
> We sent an email to jason_hansen@outlook.com. Please follow the steps provided
  inside it and make sure the security code matches Proud Galapagos Penguin.
✔ Email confirmed
✔ Fetched your personal details
> Ready! Authentication token and personal details saved in "~/.now"
Next, deploy the /dist folder you created in the last step by running this command:
npm run deploy
This script does two things:
- First, it copies the
package.jsonfile from the/.nowfolder at the root of your project into the/distfolder. This file is required in order to get expected behavior when refreshing the application.- Then it deploys the
/distfolder to Now.
Once the process completes, you'll see a message like this:
> Deploying ~/lore-quickstart/dist under jchansen
> Using Node.js 8.11.1 (default)
> https://lore-quickstart-avvuiuuwto.now.sh [in clipboard] (sfo1) [11s]
> Synced 4 files (5.63MB) [11s]
> Building…
> ▲ npm install
> ⧗ Installing 1 main dependency…
> ✓ Installed 130 modules [2s]
> ▲ Snapshotting deployment
> ▲ Saving deployment image (5.8M)
> Build completed
> ✔ Verified sfo1 (1) [12s]
> Success! Deployment ready!
The important part here is the URL the project was deployed to, which for this example is https://lore-quickstart-avvuiuuwto.now.sh. Copy that URL - we'll going to need it in just a minute.
Every time you deploy an application to Now, it will create a unique auto-generated URL for that deploy. Then you alias that URL to actual domain you want people to access the application from.
It's this two-step process that enables zero-downtime deploys. It also means that if you screw up, you can easily roll-back to a previous version of your application simply by switching the alias.
Let's illustrate what this process looks like.
In the example above, Now deployed the application to lore-quickstart-avvuiuuwto.now.sh. If we wanted users to access that application from lore-quickstart.now.sh, then we would create an alias from lore-quickstart-avvuiuuwto.now.sh to lore-quickstart.now.sh using this command:
now alias lore-quickstart-avvuiuuwto.now.sh lore-quickstart.now.sh
And now the application would now be available from https://lore-quickstart.now.sh.
To make the application accessible from a custom domain like
quickstart.lorejs.org, simply use that custom domain as the alias.
Now it's your turn. Choose a subdomain for your project, like lore-quickstart-jchansen, and then create the alias. If the subdomain you want is already taken, you'll see an error like this:
> Assigning alias lore-quickstart.now.sh to deployment lore-quickstart-avvuiuuwto.now.sh
> Error! The alias lore-quickstart.now.sh is a deployment URL or it's in use by a different team.
If that's the case, just keep trying different subdomains until you find one that's available.
Once your application has an alias, navigate to that URL, and the application should redirect you to Auth0 to log in.
After you log in, look at the URL in the browser, and notice that Auth0 redirected you to http://localhost:3000/auth/callback, and not to your production deploy, such as https://lore-quickstart.now.sh/auth/callback.
We'll learn how to fix that in the next step.
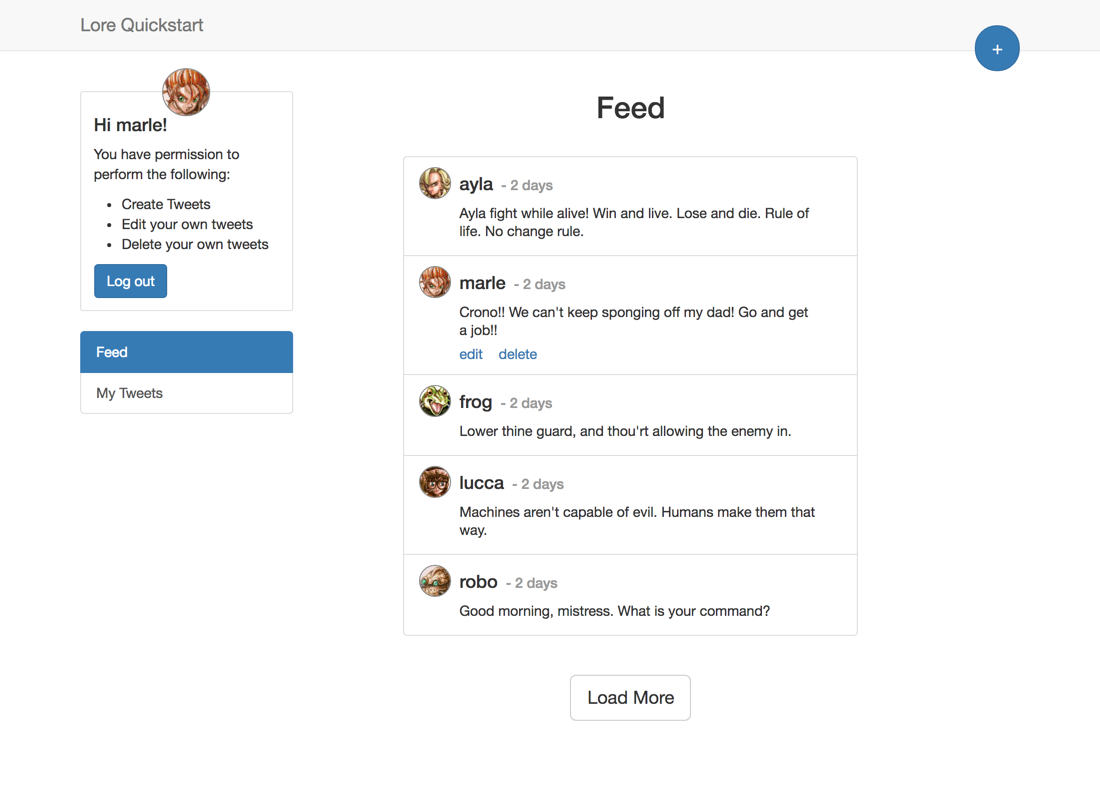
If everything went well, your application should still look like this (exactly the same).
There are no code changes required for this step.
In the next section we'll create a production config to fix the redirect issue.