Quickstart
A quick dive into getting started with Lore
A quick dive into getting started with Lore
In this step we'll be adding some mock data to our feed.
The practice of using fake data to populate components while you're building out your application can be quite helpful for supporting rapid development. Sometimes, it will also be necessary, as the API to support your application may not exist when you start building it.
You can view the finished code for this step by checking out the
data.1branch of the completed project.
First, open your Feed component and declare that it is going to require a prop called tweets:
// src/components/Feed.js
export default createReactClass({
  displayName: 'Feed',

  propTypes: {
    tweets: PropTypes.object.isRequired
  },
  ...
})
// src/components/Feed.js
class Feed extends React.Component {
  ...
}

Feed.propTypes = {
  tweets: PropTypes.object.isRequired
};
// src/components/Feed.js
class Feed extends React.Component {

  static propTypes = {
    tweets: PropTypes.object.isRequired
  };
  ...
}
Next, add a getDefaultProps() method to your Feed component and use it to populate tweets with mock data:
// src/components/Feed.js
const Feed = createReactClass({
  ...
  getDefaultProps() {
    const tweet = {
      id: 1,
      cid: 'c1',
      state: 'RESOLVED',
      data: {
        id: 1,
        userId: 1,
        text: 'Nothing can beat science!',
        createdAt: '2018-04-24T05:10:49.382Z'
      }
    };

    return {
      tweets: {
        state: 'RESOLVED',
        data: [tweet]
      }
    };
  },
  ...
})
// src/components/Feed.js
class Feed extends React.Component {
  ...
}

...

Feed.defaultProps = (function() {
  const tweet = {
    id: 1,
    cid: 'c1',
    state: 'RESOLVED',
    data: {
      id: 1,
      userId: 1,
      text: 'Nothing can beat science!',
      createdAt: '2018-04-24T05:10:49.382Z'
    }
  };

  return {
    tweets: {
      state: 'RESOLVED',
      data: [tweet]
    }
  };
})();
// src/components/Feed.js
class Feed extends React.Component {
  ...
  static defaultProps = (function() {
    const tweet = {
      id: 1,
      cid: 'c1',
      state: 'RESOLVED',
      data: {
        id: 1,
        userId: 1,
        text: 'Nothing can beat science!',
        createdAt: '2018-04-24T05:10:49.382Z'
      }
    };

    return {
      tweets: {
        state: 'RESOLVED',
        data: [tweet]
      }
    };
  })();
  ...
}
getDefaultProps()is a great method to use for mock data, since it will only populate thetweetsprop if no data is passed in. So if you use this method for your mock data, it will automatically be replaced with real data once it's provided, which is pretty convenient.
In the function above, we're declaring a single tweet, with the text "Nothing can beat science!" and adding it to an array of tweets. In both cases the state has been set to RESOLVED to indicate that nothing is happening to the data.
When adding mock data to real applications, it's not necessary to include all these fields - only the ones the component will actually need. For this example, the following data set is perfectly sufficient, and has been collapsed into a single data structure:
// src/components/Feed.js
...
  getDefaultProps() {
    return {
      tweets: {
        data: [
          {
            id: 1,
            data: {
              userId: 1,
              text: 'Nothing can beat science!',
              createdAt: '2018-04-24T05:10:49.382Z'
            }
          }
        ]
      }
    };
  },
...
Now that we have some mock data created, let's display it on screen. First, add a renderTweet() method to your Feed that looks like this:
// src/components/Feed.js
...
  renderTweet(tweet) {
    return (
      <li key={tweet.id}>
        {tweet.data.text}
      </li>
    );
  },
...
// src/components/Feed.js
...
  renderTweet(tweet) {
    return (
      <li key={tweet.id}>
        {tweet.data.text}
      </li>
    );
  }
...
// src/components/Feed.js
...
  renderTweet(tweet) {
    return (
      <li key={tweet.id}>
        {tweet.data.text}
      </li>
    );
  }
...
Then update the render() method so that it iterates through each of the tweets and renders them using the renderTweet() method:
// src/components/Feed.js
...
  render() {
    const { tweets } = this.props;

    return (
      <div className="feed">
        <h2 className="title">
          Feed
        </h2>
        <ul className="media-list tweets">
          {tweets.data.map(this.renderTweet)}
        </ul>
      </div>
    );
  }
...
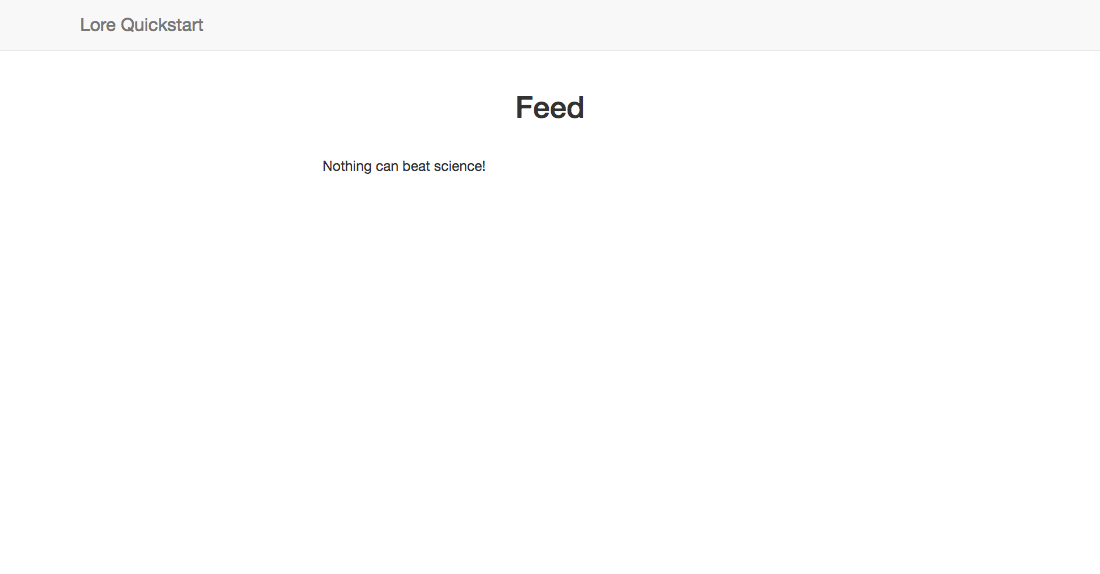
With this code in place, you should now see the text of your mock tweet displayed to the screen.
As a reminder, anytime you render a list of items in React, you need to add a
keyproperty that contains a unique id that no other item in that list will share. In this example, we're using theidof our tweet, which is a perfect solution for many situations.The only time you won't be able to use the
idas thekeyis when you're rendering data optimistically, before it's been assigned anidby the server. We'll cover that scenario later in the Quickstart.
If everything went well, your application should now look like this.
Below is a list of files modified during this step.
import React from 'react';
import createReactClass from 'create-react-class';
import PropTypes from 'prop-types';

export default createReactClass({
  displayName: 'Feed',

  propTypes: {
    tweets: PropTypes.object.isRequired
  },

  getDefaultProps() {
    const tweet = {
      id: 1,
      cid: 'c1',
      state: 'RESOLVED',
      data: {
        id: 1,
        userId: 1,
        text: 'Nothing can beat science!',
        createdAt: '2018-04-24T05:10:49.382Z'
      }
    };

    return {
      tweets: {
        state: 'RESOLVED',
        data: [tweet]
      }
    };
  },

  renderTweet(tweet) {
    return (
      <li key={tweet.id}>
        {tweet.data.text}
      </li>
    );
  },

  render() {
    const { tweets } = this.props;

    return (
      <div className="feed">
        <h2 className="title">
          Feed
        </h2>
        <ul className="media-list tweets">
          {tweets.data.map(this.renderTweet)}
        </ul>
      </div>
    );
  }

});
import React from 'react';
import PropTypes from 'prop-types';

class Feed extends React.Component {

  renderTweet(tweet) {
    return (
      <li key={tweet.id}>
        {tweet.data.text}
      </li>
    );
  }

  render() {
    const { tweets } = this.props;

    return (
      <div className="feed">
        <h2 className="title">
          Feed
        </h2>
        <ul className="media-list tweets">
          {tweets.data.map(this.renderTweet)}
        </ul>
      </div>
    );
  }

}

Feed.propTypes = {
  tweets: PropTypes.object.isRequired
};

Feed.defaultProps = (function() {
  const tweet = {
    id: 1,
    cid: 'c1',
    state: 'RESOLVED',
    data: {
      id: 1,
      userId: 1,
      text: 'Nothing can beat science!',
      createdAt: '2018-04-24T05:10:49.382Z'
    }
  };

  return {
    tweets: {
      state: 'RESOLVED',
      data: [tweet]
    }
  };
})();

export default Feed;
import React from 'react';
import PropTypes from 'prop-types';

class Feed extends React.Component {

  static propTypes = {
    tweets: PropTypes.object.isRequired
  };

  static defaultProps = (function() {
    const tweet = {
      id: 1,
      cid: 'c1',
      state: 'RESOLVED',
      data: {
        id: 1,
        userId: 1,
        text: 'Nothing can beat science!',
        createdAt: '2018-04-24T05:10:49.382Z'
      }
    };

    return {
      tweets: {
        state: 'RESOLVED',
        data: [tweet]
      }
    };
  })();

  renderTweet(tweet) {
    return (
      <li key={tweet.id}>
        {tweet.data.text}
      </li>
    );
  }

  render() {
    const { tweets } = this.props;

    return (
      <div className="feed">
        <h2 className="title">
          Feed
        </h2>
        <ul className="media-list tweets">
          {tweets.data.map(this.renderTweet)}
        </ul>
      </div>
    );
  }

}

export default Feed;
Next we're going to create our Tweet component.