Quickstart
A quick dive into getting started with Lore
A quick dive into getting started with Lore
In this step we're going to add Bootstrap 3, which we'll be using to style the application.
You can view the finished code for this step by checking out the
layout.1branch of the completed project.
To use Bootstrap, we first need to add the necessary CSS and JavaScript files.
Open the index.html file at the root of your project and add the following stylesheet at the bottom of the <head> element.
<link rel="stylesheet" href="https://maxcdn.bootstrapcdn.com/bootstrap/3.3.6/css/bootstrap.min.css">
Then add these scripts at the bottom of the <body> tag.
<script src="https://code.jquery.com/jquery-2.2.1.min.js"></script>
<script src="https://maxcdn.bootstrapcdn.com/bootstrap/3.3.6/js/bootstrap.min.js"></script>
Next, locate the <title> tag in the <head> and change it from New Lore App to Lore Quickstart, so that we have a more meaningful title displayed in the browser tab.
<title>Lore Quickstart</title>
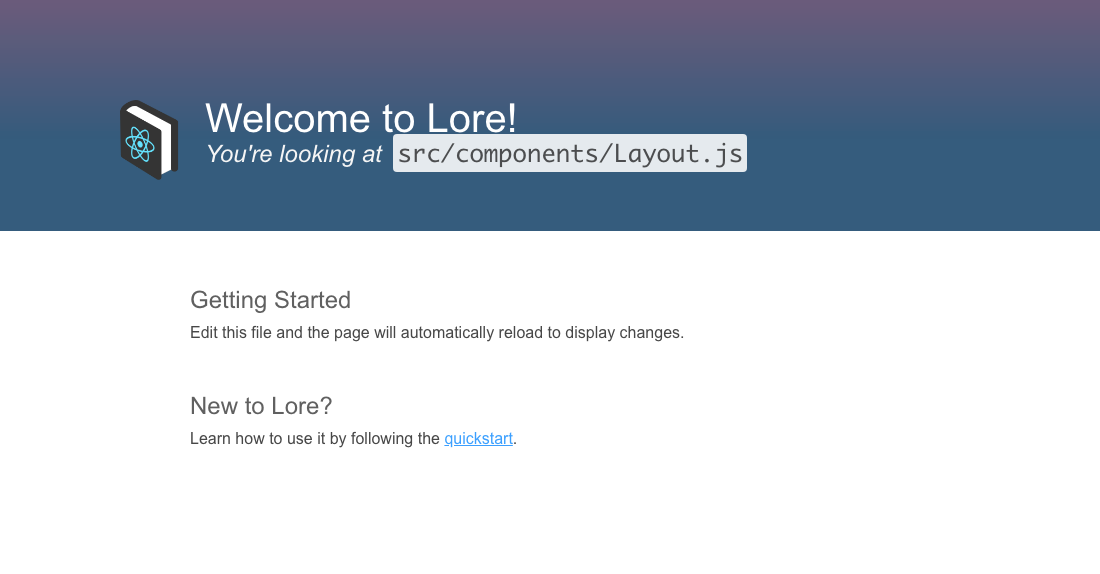
If everything went well, your application should now look like this.
Below is a list of files modified during this step.
<html>
  <head>
    <meta charset="utf-8">
    <meta name="viewport" content="width=device-width, initial-scale=1">
    <title>Lore Quickstart</title>
    <link rel="stylesheet" href="https://maxcdn.bootstrapcdn.com/bootstrap/3.3.6/css/bootstrap.min.css">
  </head>
  <body>
    <div id="loading-screen">
      <div class="logo breathe"></div>
    </div>
    <div id="root"></div>
    <div id="dialog"></div>

    <script src="https://code.jquery.com/jquery-2.2.1.min.js"></script>
    <script src="https://maxcdn.bootstrapcdn.com/bootstrap/3.3.6/js/bootstrap.min.js"></script>
  </body>
</html>
Next we're going to add some custom styles.